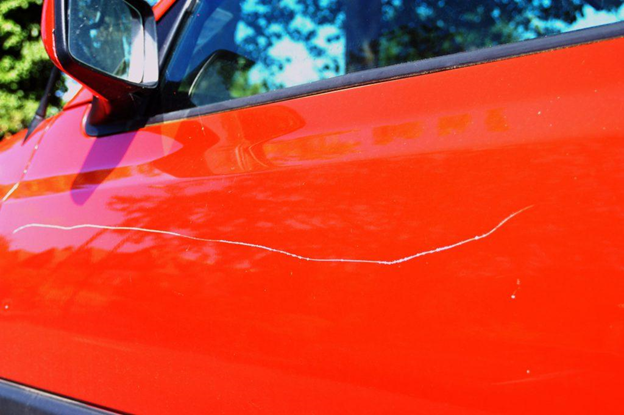
We’ve all encountered those moments: a few scratches, a ding from the grocery store parking lot. Whether minor or more noticeable, accidents are inevitable. Maintaining your vehicle’s pristine appearance can be a challenge.
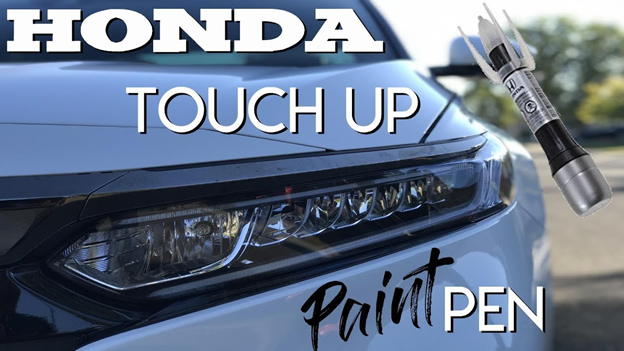
The good news is fixing these blemishes yourself is doable with a bit of confidence, some guidance, and the right OEM products from Bernardi Parts. Using the Honda touch-up paint pen, you can effortlessly repair those minor scratches and, most importantly, maintain your Honda’s showroom-new appearance affordably.
Below are the essential steps showing how to use touch-up paint effectively, ensuring a good color match and high-quality application.
Find Your Honda Paint Code and Factory Code
The first and most crucial step in repainting your vehicle is ensuring you have the exact color match. Honda OEM paints guarantee a perfect color match, with all Honda paint colors readily available.
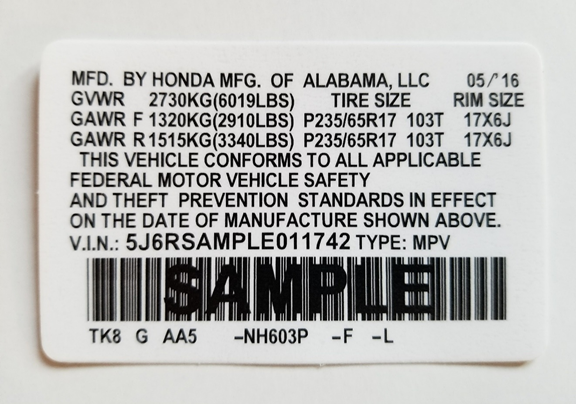
To locate your Honda’s paint code, check the VIN label located on the driver's side door pillar, as illustrated above:
The section highlighted in the red box below indicates your vehicle’s paint code:
Given each model has its own specific paint color variation, selecting the correct paint pen is vital. If you're having difficulty finding the right Honda touch-up paint, our Honda parts and accessories experts are here to assist.
How to Apply Your Honda Touch-Up Paint
Before starting your project with Honda touch-up paint, there are several preparatory steps to take:
- Ensure the temperature is above 50 degrees Fahrenheit for effective use of a touch-up paint pen. Paint application is not recommended in colder weather as the paint may not adhere or cure properly.
- Clean the area to be painted thoroughly with soap and warm water. Avoid harsh chemicals; ensure no dust or dirt is left behind.
- If your vehicle was recently waxed, use a wax remover or degreaser before painting.
- Remove any rust using 220-grit sandpaper or a stiff wire brush, then apply a rust remover to prevent future rusting.
Once your vehicle is prepared, you're ready to begin the touch-up process. Here are tips for a flawless finish:
- Apply Honda touch-up paint in multiple thin layers to achieve the best look. This approach allows the paint to build to the same depth as the surrounding areas.
- Typically, wait 10–20 minutes between each layer, then allow the paint to cure overnight for the best results.
- Optionally, apply multiple layers of clearcoat, waiting for 10–20 minutes between applications. If applied, clearcoat should cure for up to 3 days.
- After curing, polish the area with a soft cloth and rubbing compound to blend the new paint with the existing coat evenly.
Following these steps will ensure your vehicle looks as good as new, demonstrating the seamless repair process when you know how to apply touch-up paint, especially when using a Honda touch-up paint pen effectively.
Related Articles