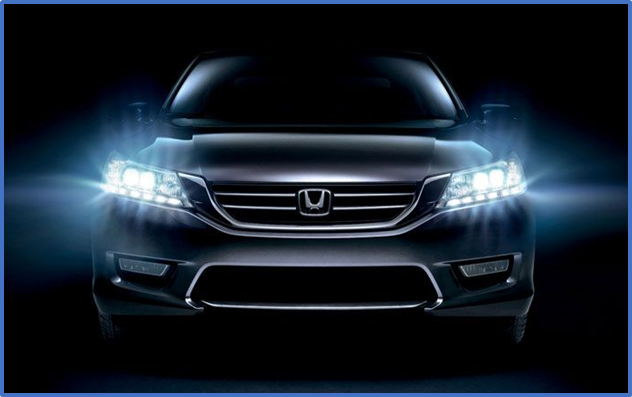
There are many important lights on your vehicle, but none are more than your headlights. You never want to be in the situation where you’re stuck somewhere and your headlights stop working at the worst possible moment.
Making sure your headlights are working properly is about more than being prepared for a worst-case scenario, too. These simple steps can help you avoid getting pulled over, or even save you from getting a ticket.
Here’s how you can know it’s time to replace your vehicle’s headlights.

Signs Your Headlights Need to Be Replaced
Driving without properly working headlights puts you and others in danger. And just because your headlights aren’t dead doesn’t mean that they’re working properly.
Over time, your headlights will naturally dim and need to be replaced. The key to staying safe while driving in the dark is to catch the dimming before it’s too late and you’re caught in the dark.
Here are some useful signs you can keep an eye out for so you’ll know when to replace your headlights:
-
Dim Headlamps: Your Honda’s headlights will gradually dim over time. The luminosity will decrease until, eventually, the lamps die. Keeping an eye on the luminosity of your headlights is an easy way to tell when your headlights are on the way out and need to be replaced.
-
Flickering Headlights: Another dead giveaway that your headlights are on the verge of dying is if they begin to flicker on and off. No different from a lightbulb in a lamp at home, your Honda’s headlights will give ample warning that you ought to replace them.
-
Single Headlight Out: When one headlamp goes, the other is bound to follow. While it isn’t the easiest thing to tell when one light goes out, it is important to periodically and regularly check your headlights. Start your car, turn the headlights on, leave your vehicle in park and get out to check them yourself! That way, you won’t get pulled over, and you won’t receive a ticket.
-
Only High-Beams Work: If your high-beam headlights work but your low-beam lights don’t, there are two things that could be happening—you either have a blown fuse or a dead bulb. In older models, the simple way to check if your headlight is the issue and needs to be replaced is to switch out the high-beam bulb that is working with your low-beam bulb that is not working. If the low-beam is still not working, then it needs to be replaced. With newer headlamps it’s often recommended that you replace the unit.
-
Aging Covers: The bulb isn’t the only thing that could be wrong with your headlight. Over time, the plastic covering on your headlight can become cloudy. Light is diffused when it passes through cloudy plastic and it can be the cause of seemingly dimmed headlights.
How to Clean Cloudy Headlights
As stated above, over time the covering on your headlights can become cloudy from dirt and weathering. When this happens, it negatively affects the luminosity of your headlights and eventually, they will need to be replaced. However, depending on the severity of the cloudiness, there are a few ways to restore your headlights and push off having to purchase new ones. Below we will dive into three tactics to clean your cloudy headlights.
-
Toothpaste with Baking Soda: The easiest way to clean off your cloudy headlights is to use a product that you already own! Yes, toothpaste can be used to make your headlight covers look brand new! Before using the toothpaste, however, clean down your headlights with Windex or soapy water. Once that is done, you can use a soft towel and apply toothpaste with baking soda to your headlights. Scrub the toothpaste into the headlights while also keeping the cover wet. Once you are done scrubbing, you will then need to add a sealant.
-
DIY Restoration Kit: If your headlights are too cloudy for the simple toothpaste trick, then the next tactic to look into is using a restoration kit. These kits usually include multiple sandpaper samples to clean, multiple pastes to polish, and clear coatings to protect your headlights. Kits include step-by-step instructions and can be a very inexpensive way to restore your headlights and keep you safe.
-
Visit a Professional: The last tactic to use when looking to clean your headlights is to make an appointment with a professional. While DIY kits can do the job, sometimes they just aren’t enough to do the trick. While making an appointment with an auto detailing shop will cost you more the DIY kit, it is a cheaper alternative than replacing the headlight completely.
Using one of these three tactics is a great way to fix your headlights IF the only issue is the cloudless of the headlight coverings. If you are experiencing any of the other signs that your headlights are not properly working, the best advice for you is to simply replace the headlights.
Replacing your Headlights
Once you have identified that your headlights have begun to dim, the next step is to replace them before you put yourself and others in danger. Bernardi Parts has everything you need to switch out your headlights with only Honda OEM part.
Bernardi Parts has everything you need to switch out your headlights with only Honda OEM parts.
Learn more about vehicle maintenance and features in our comprehensive articles collection, offering insights and guidance for your Honda's care.
Need assistance or looking for genuine Honda parts? Please send us a message or give us a call at 800-924-1884.